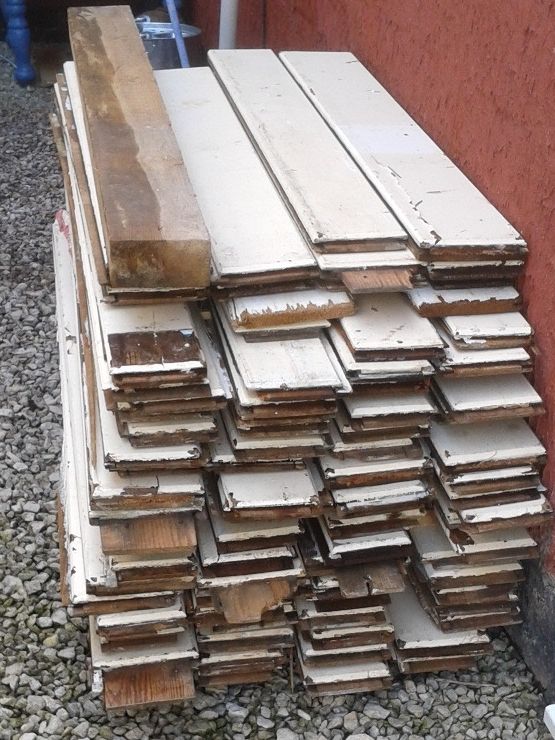
"Ask and it will be given to you, Seek and ye shall find" goes the saying and I'm living proof. I like to seek out stuff in my area on Freegle and also found a group on Facebook offering free stuff for recycling. I hit gold on this site and found a nice stack of oak panelling left over from the court house refurbishment in the historic town of Warwick. It was a nice find and I ended up with 100m of 20 to 25mm thick 3 or 4 inch wide panels. Sorry about the mix of units, but I'm English and that's how we roll sometimes.
- Free Wood!
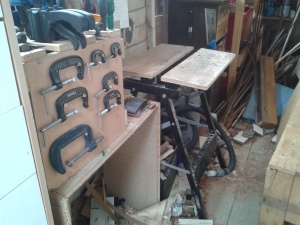
I'd been using a Workmate as my main workbench for some years and was finding it playing havoc on my back as it was way too low for my 6ft 4in stature. I had a design for my new bench from, of all things, a book (Remember books?) but wanted to get it right for me. I threw a question out on twitter and got some great responses from @Archerfurniture and @Torch02 so decided on a height of 900mm. If it turned out to be too high I could always chop the ends of the legs off, but if it was too low it would be a bugger to raise.
Below is a photo of the old setup.
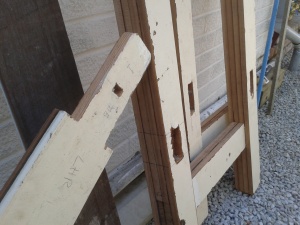
The idea was to make up two leg sections which I could connect by some cross members held in by through tenons and wedges, then attach a worktop I'd had donated by a neighbour who had a recent kitchen refit. The oak panels were tongue and grooved with a layer of paint of dubious origin and lead content on one side and a rough sawn finish on the other. Due to this paint I wanted to keep disturbing this to a minimum. I used my trusty band saw to rip of the edges and get a uniform width. These strips where then glued and screwed into nice 70mm square posts for the legs. I also cut some through dovetails which where sandwiched in the layers. this gave me two solid leg units. They were heavy too!
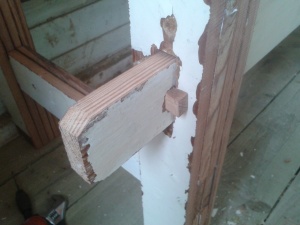
Now it was time to drill out and square off the slots for the tenons. The idea of using these joints was that I could lengthen or shorten the bench as time and space allows. The bench legs were put into position and locked up with the tenon wedges. When it was done it was solid.
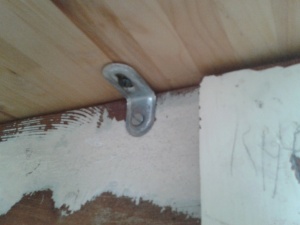
The worktop was screwed on with simple brackets. The idea is to keep it removable in case I come across a bigger thicker top, but for now it will do.
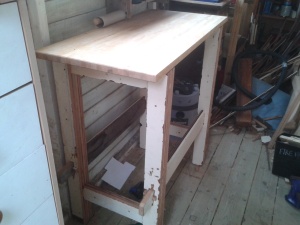
And that was it. I had a beautiful, functional ready for anything work bench.
But what about a vice?
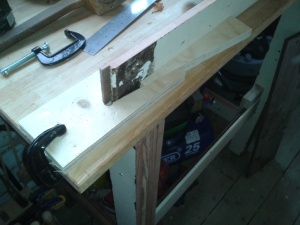
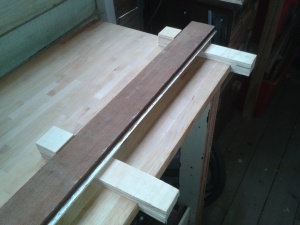
The original design had an apron along the front into which was a screw vice up one end. Most benchs I saw on the web had a setup like this. I could see the logic of it as the work would be clamped whilst the work was cut to size, but would it suit my needs. I scanned through a few old books on-line via Google books and spotted a really simple and neat idea for clamping work, a wedge clamp. This can be clamped on top of the bench to hold boards on edge for truing and for making tenons.
It can also be clamped over the edge to take wider boards with the aid of a bench hook.
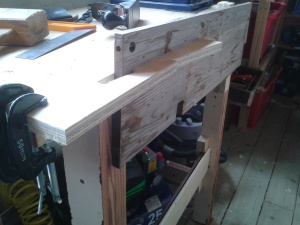
Which brings me onto the bench hook design. I came across yet another video from Roy Underhill praising the simple bench hook although I went for a simpler design made from thick plywood glued and nailed. Using two thinner hooks about 2 inches wide means you can hold really long boards nice and steady for cutting.
The bench may be a little high but as I said above I can easily lower it. I will be making a Moxon vice which I can remove when not needed, that will be another blog entry.
So dear reader as you can see, you don't need to spend a fortune to get a really solid, useful bench.
No comments:
Post a Comment
If you have any views or comments, leave them below.